- PDC emulator operation master should be on Windows server 2008
- Domain Functional Level\Forest Functional Level should be set as Windows Server 2008 or Windows Server 2003.
- If there is windows server 2003 environment, we need to prepare the domain for RODC installation by “ADPREP\RODCPREP”
- There should be only one RODC per site
- If the user outlook is the RODC site , make RODC a global catalog
So let’s begin our tutorial how to install and configures RODC in a domain. In our lab we have only one read write domain controller, and we are going to configure a new RODC in this lab. In this first part of article I will show you how to install the RODC at domain. In the next series we will see the configuration and benefit features of RODC.
Domain Name- test.lab
Read Write Active Directory – AD.test.lab, 192.168.1.1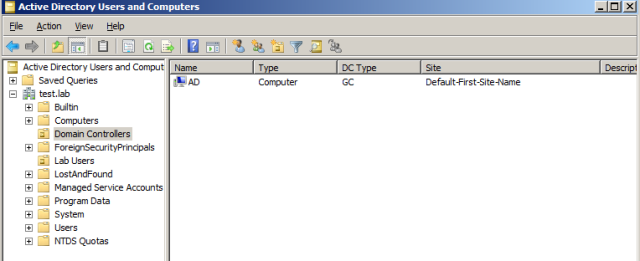
In above pic, we have a one domain controller with FQDN as AD.test.lab. with an IP address as 192.168.1.1. So we are going to create a new RODC in this lab and we used the IP address as 192.168.1.3. We installed a new server 2008 with FQDN as RODC.test.lab with a configured IP address 192.168.1.3. To install RODC, we run “dcpromo” with advantage switch at the server 192.168.1.3.
- Run dcpromo and check the box “Use Advanced Mode Installation” and click Next.

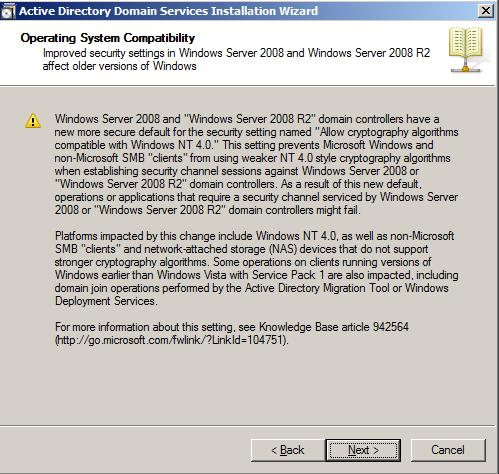
- Now we have operating system compatibility console window. Read fully and click Next.
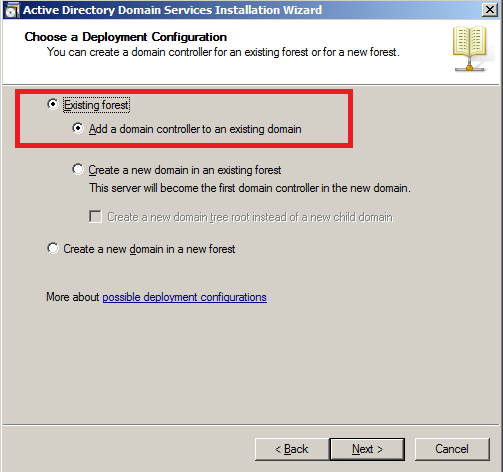
- Since we have already a domain controller in our lab, we choose existing forest and tick the check box “add a domain controller to an existing domain” in choose e deployment configuration window. Click next
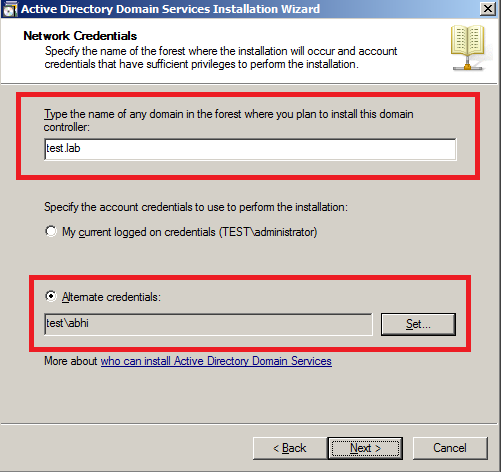
- Enter the domain name and set the credentials to use to perform the installation. In this example we choose alternate credentials to perform the installation. This is because to show the account role separation between read write domain controller and RODC. You can choose any option.
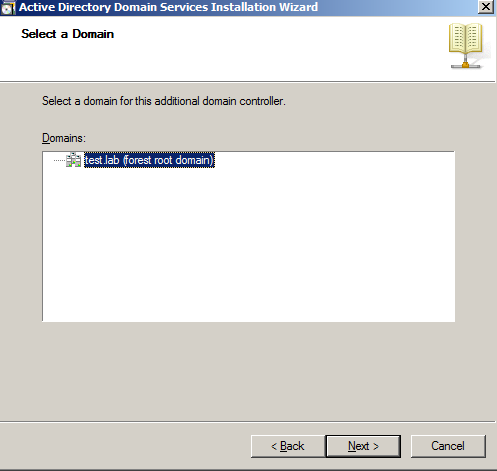
- Since we have only one domain, it shows only one. If there are multiple domains then we have to choose accordingly. Click Next
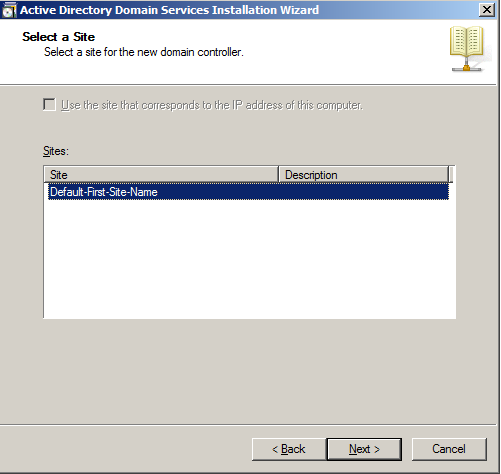
- Select a site where you want to install RODC, and click next.
- Check read only domain controller box also and click Next.

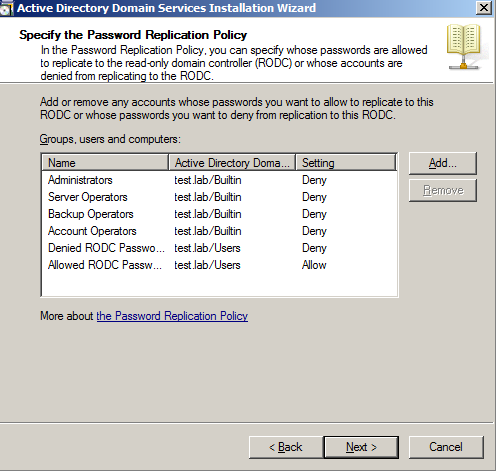
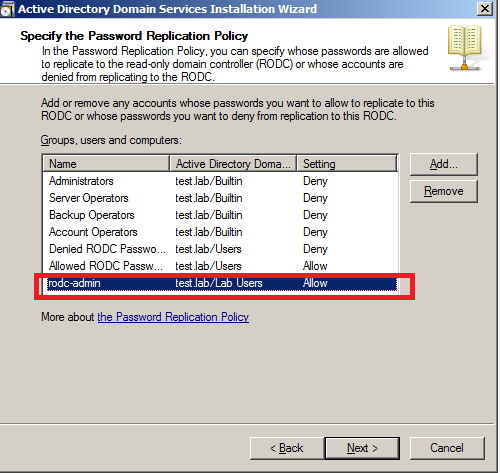
- Now we have Password replication Wizard policy box. In this wizard we can specify whose passwords are allowed to replicate to the RODC or whose accounts are denied from replicating to RODC. By default Admin, Server operator, backup operators, account operators have set to deny access.
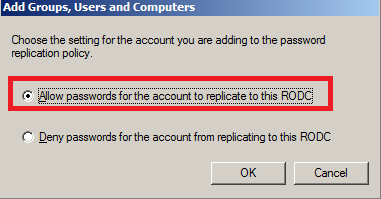
- If you want to add a account, click Add. Once we click Add we have two option, allow or deny, we are going to check Allow password to replicate
- We have added the account rodc-admin and set the allow permission
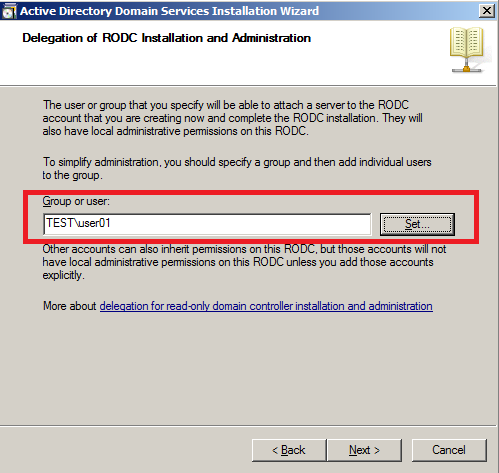
- Enter the group or user for Delegation of RODC installation and administration. The user or group which we enter will get local admin rights on RODC server. In this example we enter the user account “user01”. Click Next
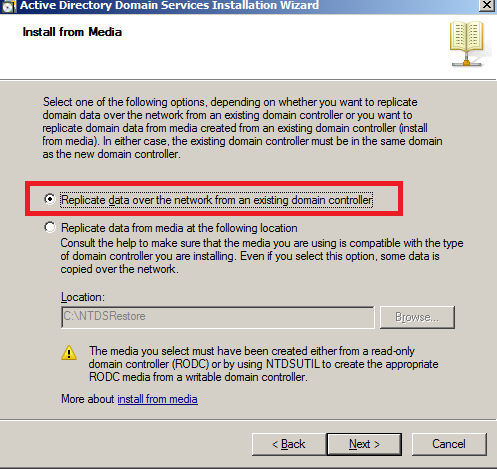
- Now we have install from media wizard window and choose the option depending on whether you want to replication domain data over the network from an existing domain controller or you want to replicate data from some backup media. In this example we choose replicate data over he network
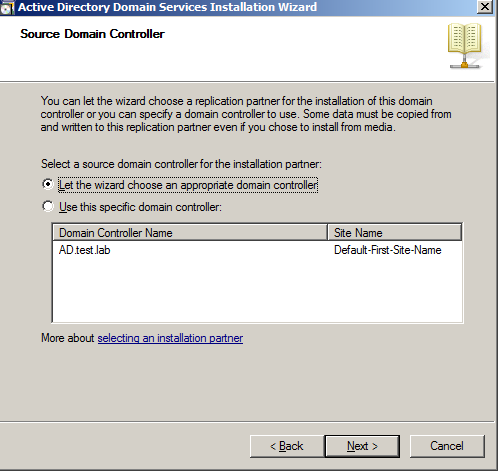
- Select a source domain controller for installation partner
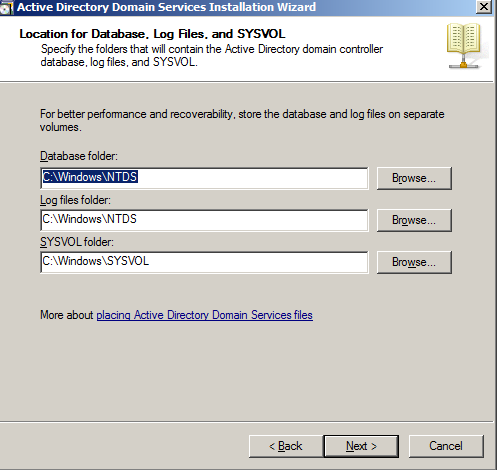
- Enter the location of database and log file folder
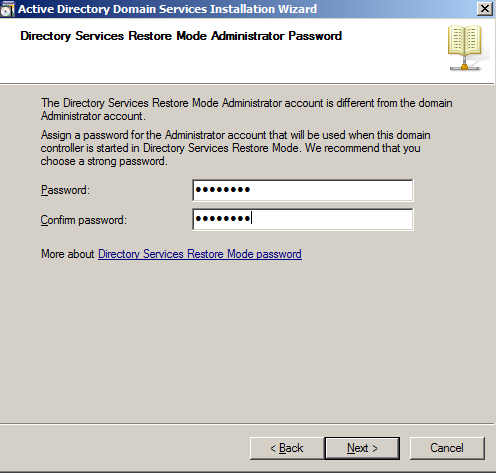
- Enter the password for DCRM (Directory Service Restore Mode)
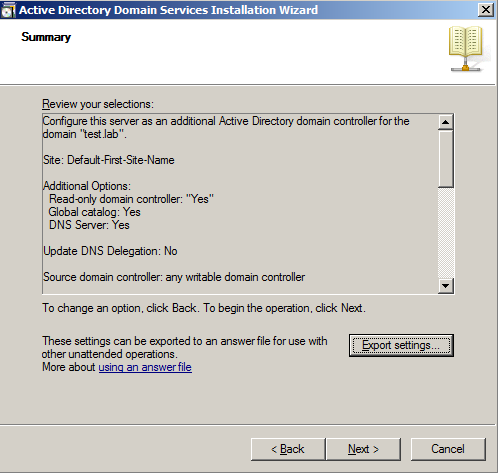
- Review your setting and click Next
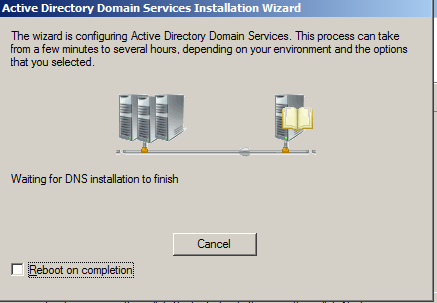
- This will start the installation of RODC server at the domain.
- Click Finish to complete the install. You must restart the server.
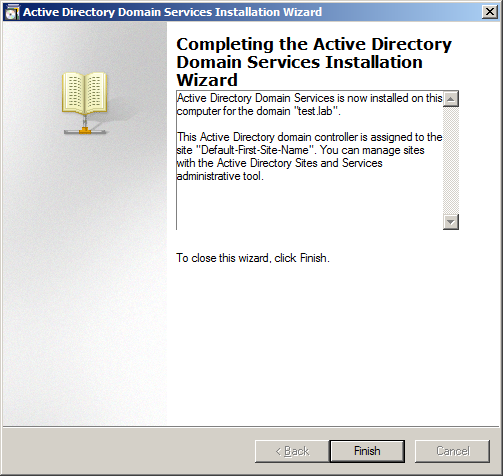
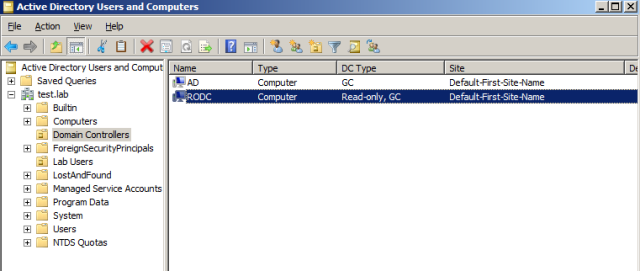
- This completes the installation of RODC at our domain. Once the server has been restart, we will see an entry in Domain controller.
And when we log into RODC and we will see we don’t have option like create new user or anything like in read-write domain controller.
So in this first part of article we know how to install RODC in domain. In the next series of article we will see how to configure and use the feature of RODC.


0 comments:
Post a Comment